Are you looking to give your kitchen a stunning makeover without breaking the bank? Look no further than the wonders of DIY granite! With its timeless beauty and durability, granite has become a popular choice for kitchen countertops. And the best part? You can install it yourself with a little bit of effort and the right tools. In this comprehensive guide, we’ll take you through the steps of transforming your kitchen with DIY granite, providing you with all the information you need to create a stunning focal point in your culinary haven. So roll up your sleeves, grab your tools, and let’s dive into the world of DIY granite!
Why Choose DIY Granite for Your Kitchen
When it comes to choosing the perfect material for your kitchen countertops, granite offers a plethora of benefits that make it an excellent choice for your DIY project. Here are some compelling reasons why you should consider using granite:
1. Timeless Beauty
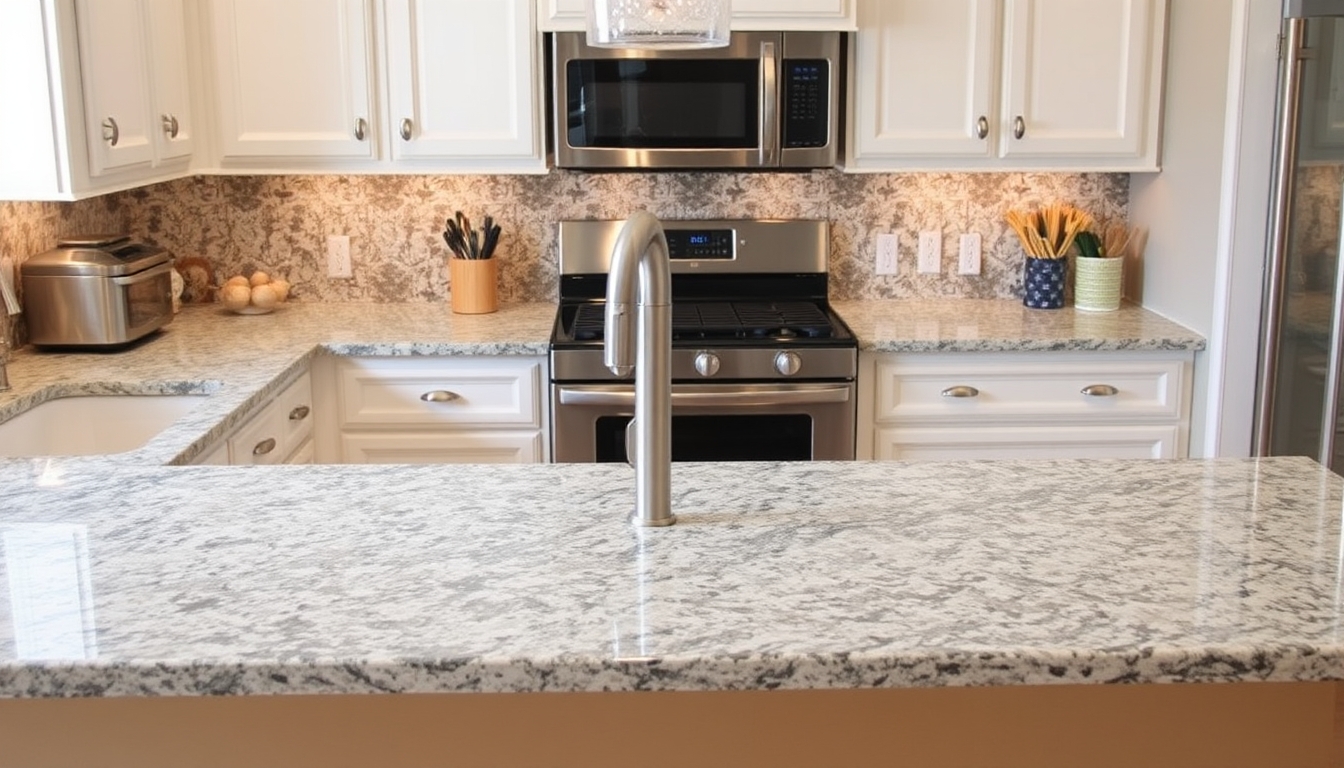
Granite is renowned for its natural beauty and elegance. With its unique veining and color variations, each granite slab is one-of-a-kind. By installing granite countertops, you can instantly elevate the aesthetic appeal of your kitchen and create a sophisticated and luxurious look.
2. Durability and Longevity
One of the main reasons homeowners opt for granite is its exceptional durability. Granite is a hard and dense natural stone that can withstand the daily wear and tear of a busy kitchen. It is highly resistant to scratches, heat, and stains, making it an ideal choice for countertops that will last for years to come.
3. Easy Maintenance
Keeping your granite countertops looking pristine is a breeze. Regular cleaning with a mild soap and water solution is usually sufficient to maintain their beauty. Additionally, applying a sealant every few years helps protect the stone from stains and makes it even easier to clean.
4. Increased Home Value
Investing in granite countertops can significantly increase the value of your home. Potential buyers are often drawn to kitchens with granite surfaces, as they are seen as a luxurious and high-end feature. By choosing DIY granite, you can enhance the appeal of your kitchen while adding value to your property.
5. Cost-Effectiveness
Opting for DIY granite allows you to save a considerable amount of money compared to hiring professionals for installation. With a little bit of research and dedication, you can achieve professional-looking results at a fraction of the cost. This makes DIY granite an attractive option for budget-conscious homeowners.
Now that you understand the numerous advantages of using granite for your kitchen countertops, let’s delve into the step-by-step process of installing DIY granite to transform your kitchen into a stunning culinary oasis.
Gathering the Necessary Tools and Materials
Before embarking on your DIY granite installation journey, it’s essential to gather all the necessary tools and materials. Here’s a comprehensive list of what you’ll need:
1. Granite Slabs
The first step is to select the perfect granite slabs for your countertops. Visit local granite suppliers or browse online to find a wide range of options. Consider factors such as color, pattern, and thickness to ensure you choose the right slabs for your kitchen.
2. Measuring Tape
Accurate measurements are crucial for a successful installation. Use a measuring tape to measure the dimensions of your existing countertops or the area where you plan to install the granite. Take note of any cutouts needed for sinks or appliances.
3. Plywood
Plywood serves as the base for your granite countertops. Measure and cut the plywood to fit the dimensions of your countertops. Ensure that it is sturdy enough to support the weight of the granite slabs.
4. Circular Saw
A circular saw equipped with a diamond blade is necessary for cutting the plywood and trim pieces to the correct dimensions. Take safety precautions and follow the manufacturer’s instructions when using the saw.
5. Jigsaw
A jigsaw will come in handy for making any necessary cutouts in the plywood to accommodate sinks or appliances. Ensure you have a fine-toothed blade suitable for cutting through the plywood and creating precise shapes.
6. Adhesive and Caulk
Choose a high-quality adhesive specifically designed for bonding granite to the plywood. Additionally, you’ll need a caulk that matches the color of your granite to seal the seams between the slabs and create a polished look.
7. Level
A level is essential for ensuring that your countertops are installed evenly and without any slopes or uneven surfaces. This tool will help you achieve a professional-looking finish.
By gathering all these tools and materials in advance, you’ll be well-prepared to tackle the installation process and achieve remarkable results with your DIY granite countertops.
Preparing the Workspace and Installing the Granite
Now that you have all the necessary tools and materials, it’s time to prepare your workspace and begin the installation process. Follow these steps to ensure a smooth and successful installation:
1. Clear the Area
Remove any items from your countertops and clear the surrounding area to provide ample space for working. This includes disconnecting and removing appliances, such as stoves or sinks, if necessary.
2. Protect Surfaces
Take precautions to protect your floors and cabinets from potential damage during the installation process. Lay down drop cloths or cardboard to prevent scratches or debris from causing any harm.
3. Cut and Install Plywood
Using your measurements, cut the plywood to fit the dimensions of your countertops. Ensure a tight fit and secure the plywood to the cabinets using screws. Make any necessary cutouts for sinks or appliances using a jigsaw.
4. Apply Adhesive
Apply a generous amount of adhesive to the plywood surface, ensuring even coverage. Use a notched trowel to create ridges on the adhesive, which will help create a strong bond between the granite and plywood.
5. Position and Secure Granite Slabs
With the help of a friend or family member, carefully lift and position the granite slabs onto the adhesive-covered plywood. Apply even pressure to ensure proper adhesion. Use a level to ensure the slabs are perfectly aligned and make any necessary adjustments.
6. Seal the Seams
Using the caulk that matches your granite, seal the seams between the slabs to create a seamless and polished look. Smooth the caulk with a caulk smoothing tool or your finger for a professional finish.
7. Allow for Curing Time
Let the adhesive and caulk cure as per the manufacturer’s instructions. This will ensure a strong and durable bond between the granite and plywood. Avoid placing any heavy objects on the countertops until the curing process is complete.
By following these steps carefully, you’ll be able to install your DIY granite countertops with confidence, creating a beautiful and functional space in your kitchen.
Finishing Touches and Maintenance Tips
Now that your DIY granite countertops are installed, it’s time to add the finishing touches and learn how to properly maintain them for long-lasting beauty. Here are some essential steps and maintenance tips:
1. Install Trim Pieces
To complete the polished look of your countertops, install trim pieces along the edges. Measure and cut the trim to fit, then attach them securely using adhesive and finishing nails. Ensure they are properly aligned and level.
2. Clean and Seal Regularly
To maintain the beauty of your granite countertops, it’s important to clean them regularly using a mild soap and water solution. Avoid using harsh abrasives or acidic cleaners that can damage the stone. Additionally, apply a granite sealant every few years to protect against stains and enhance the shine.
3. Use Cutting Boards and Hot Pads
While granite is highly durable, it’s still best to use cutting boards and hot pads to protect the surface from potential scratches or heat damage. Avoid placing hot pots or pans directly onto the granite and use trivets or hot pads as a protective barrier.
4. Wipe Spills Immediately
Granite is relatively stain-resistant, but it’s always a good practice to wipe up spills immediately to prevent any potential staining. This is particularly important for acidic substances such as citrus juices or wine, which can etch the surface if left unattended.
5. Avoid Impact or Heavy Pressure
Although granite is durable, it’s important to avoid any impact or heavy pressure on the surface. This includes dropping heavy objects or standing on the countertops. While granite is strong, excessive force can cause cracks or chips.
6. Seek Professional Help for Repairs
If your granite countertops do sustain any damage, such as cracks or chips, it’s best to seek professional help for repairs. Attempting to fix them yourself may result in further damage. Professionals have the expertise and tools to repair and restore your countertops effectively.
By following these finishing touches and maintenance tips, you’ll be able to enjoy the beauty and functionality of your DIY granite countertops for years to come. So sit back, relax, and revel in your stunning kitchen transformation!
Conclusion: Achieving a Beautiful DIY Granite Kitchen
Congratulations on successfully completing your DIY granite kitchen project! By choosing to install granite countertops yourself, you’ve not only saved money but also added a touch of elegance and sophistication to your kitchen. Let’s recap the key points:
1. Benefits of DIY Granite
We discussed the timeless beauty, durability, easy maintenance, increased home value, and cost-effectiveness of DIY granite. These factors make it an attractive option for homeowners looking to enhance their kitchen’s appeal without breaking the bank.
2. Gathering Tools and Materials
We covered the essential tools and materials you’ll need for a successful installation, including granite slabs, measuring tape, plywood, saws, adhesive, and a level. Ensuring you have everything ready beforehand sets you up for a smoother installation process.
3. Preparing the Workspace and Installing Granite
We walked through the steps of clearing the area, protecting surfaces, cutting and installing plywood, applying adhesive, positioning and securing granite slabs, and sealing the seams. These steps ensure a secure and visually appealing installation.
4. Finishing Touches and Maintenance
To complete your DIY granite kitchen, we discussed the importance of installing trim pieces, regularly cleaning and sealing the countertops, using cutting boards and hot pads, wiping spills immediately, avoiding heavy pressure, and seeking professional help for repairs.
With these comprehensive steps and tips, you have all the knowledge and guidance necessary to achieve a beautiful DIY granite kitchen. By investing your time and effort into this project, you’ve not only transformed your kitchen’s appearance but also added value to your home.
Now it’s time to enjoy your stunning new kitchen space, create delicious meals, and make lasting memories with family and friends. Remember to share your success and newfound knowledge with others who may be considering a DIY granite project. Happy cooking and happy DIY-ing!
FAQs about DIY Granite Countertops
1. Can I install granite countertops myself?
Yes, you can! DIY granite installation is a popular choice for homeowners looking to save money and add a personal touch to their kitchen. With the right tools, materials, and guidance, you can achieve professional-looking results.
2. How much money can I save by installing granite countertops myself?
The cost savings of DIY granite installation can vary depending on factors such as the size of your kitchen, the type of granite you choose, and the market prices in your area. On average, homeowners can save anywhere from 30% to 50% compared to hiring professionals.
3. Is granite difficult to install?
While installing granite requires some physical effort and attention to detail, it is not overly difficult, especially with proper planning and preparation. Following a step-by-step guide and taking your time can help ensure a successful installation.
4. How long does it take to install DIY granite countertops?
The installation time can vary depending on the size of your kitchen, the complexity of the layout, and your experience level. On average, DIY granite installation can take anywhere from a few days to a week, considering the time needed for preparation, curing, and finishing touches.
5. Can I reuse old countertops for DIY granite installation?
Reusing old countertops for granite installation is not recommended. Granite is heavy, and older countertops may not be able to support its weight properly. It’s best to remove old countertops and start with a fresh plywood base for a secure and stable installation.
6. What if I make a mistake during the installation process?
Mistakes can happen, especially if you’re new to DIY projects. If you encounter any issues or make a mistake during the installation process, it’s important to pause and assess the situation. You can seek guidance from online resources, consult professionals, or make necessary adjustments to ensure a successful outcome.
By addressing these frequently asked questions, we hope to provide you with additional clarity and confidence as you embark on your DIY granite countertop installation journey. Remember, with patience, preparation, and a positive attitude, you can achieve remarkable results and transform your kitchen into a stunning space.
Expert Tips for a Successful DIY Granite Installation
1. Measure Twice, Cut Once
Accurate measurements are crucial for a seamless installation. Double-check your measurements to ensure you have the correct dimensions for your countertops and any necessary cutouts. Remember, it’s always better to measure twice and cut once to avoid costly mistakes.
2. Take Safety Precautions
Working with tools and heavy materials can pose safety risks. Always wear safety goggles, gloves, and a mask when cutting or handling granite. Follow the manufacturer’s instructions for the tools you’re using and take precautions to prevent accidents or injuries.
3. Seek Help When Needed
Installing granite countertops can be a challenging task, especially when it comes to lifting and positioning heavy slabs. Don’t hesitate to ask for help from family or friends to ensure your safety and the successful installation of the granite.
4. Test Placement and Alignment
Before applying adhesive, test the placement and alignment of the granite slabs on the plywood. This will allow you to make any necessary adjustments and ensure a perfect fit. Take your time during this step to achieve an aesthetically pleasing result.
5. Use an Even Application of Adhesive
When applying adhesive to the plywood, ensure an even and consistent application. This will help create a strong bond between the granite and plywood. Use a notched trowel to create ridges, which will increase the adhesive’s contact with the granite slab.
6. Clean Up Excess Adhesive Immediately
If any adhesive squeezes out between the granite slabs during installation, clean it up immediately using a putty knife or a damp cloth. Once the adhesive dries, it can be challenging to remove, potentially ruining the appearance of your countertops.
7. Allow Sufficient Curing Time
Follow the manufacturer’s instructions for the recommended curing time of the adhesive and caulk. Avoid placing any heavy objects or applying excessive pressure on the countertops until the curing process is complete. This will ensure a strong and durable bond.
By implementing these expert tips, you’ll be well-equipped to tackle your DIY granite installation with confidence and achieve professional-looking results. Remember to take your time, stay focused, and enjoy the process of transforming your kitchen into a beautiful and functional space.
Exploring Alternative Options to DIY Granite
1. Quartz Countertops
If you’re looking for an alternative to granite, consider quartz countertops. Quartz offers similar beauty and durability but requires less maintenance. It’s a non-porous material that resists staining and doesn’t require sealing. Additionally, quartz countertops come in a wide range of colors and patterns, allowing you to find the perfect match for your kitchen.
2. Butcher Block Countertops
For a warm and rustic look, butcher block countertops are an excellent choice. Made from solid wood, such as maple or oak, these countertops provide a natural and inviting appeal. Butcher block countertops require regular maintenance, including oiling, to prevent water damage and maintain their appearance.
3. Laminate Countertops
Laminate countertops offer affordability and versatility. They come in a vast array of colors and designs, including patterns that mimic the look of natural stone. Laminate countertops are relatively low-maintenance and resistant to stains and scratches. They are a budget-friendly option for those seeking a quick and cost-effective kitchen upgrade.
4. Concrete Countertops
Concrete countertops have gained popularity for their durability and customizable designs. They offer a modern and industrial aesthetic, and with the right sealant, they are resistant to stains and heat. Concrete countertops require professional installation due to their weight and specialized techniques involved.
5. Solid Surface Countertops
Solid surface countertops, such as Corian, are composed of synthetic materials that mimic the look of natural stone. They offer a seamless appearance and are resistant to stains and scratches. Solid surface countertops can be molded into various shapes and sizes, providing endless design possibilities for your kitchen.
6. Ceramic Tile Countertops
Ceramic tile countertops provide a budget-friendly option that is easy to clean and maintain. They offer a wide range of colors, patterns, and textures to suit your kitchen style. Ceramic tile countertops are durable, heat-resistant, and can be replaced individually if any tiles get damaged.
When considering alternatives to DIY granite, explore these options to find the best fit for your kitchen’s needs, budget, and aesthetic preferences. Remember to weigh factors such as maintenance requirements, durability, and overall cost to make an informed decision for your countertop upgrade.
In conclusion, DIY granite countertops offer a cost-effective and rewarding way to transform your kitchen into a beautiful and functional space. By following the step-by-step process, gathering the necessary tools and materials, and taking proper precautions, you can achieve professional-looking results. The timeless beauty, durability, and easy maintenance of granite make it a popular choice among homeowners.
However, it’s important to consider alternative options such as quartz, butcher block, laminate, concrete, solid surface, or ceramic tile countertops. Each option has its own unique advantages and considerations, ranging from affordability to maintenance requirements. Exploring these alternatives allows you to find the perfect fit for your kitchen’s style and needs.
Whether you choose DIY granite or an alternative option, remember to prioritize safety, measure accurately, and follow the manufacturer’s instructions. With careful planning, attention to detail, and patience, you’ll be able to achieve a stunning kitchen transformation that you can enjoy for years to come.
We hope this comprehensive guide has provided you with the necessary information and inspiration to embark on your DIY countertop project. Remember to share your success, seek help when needed, and take pride in your accomplishment. Happy DIY-ing!