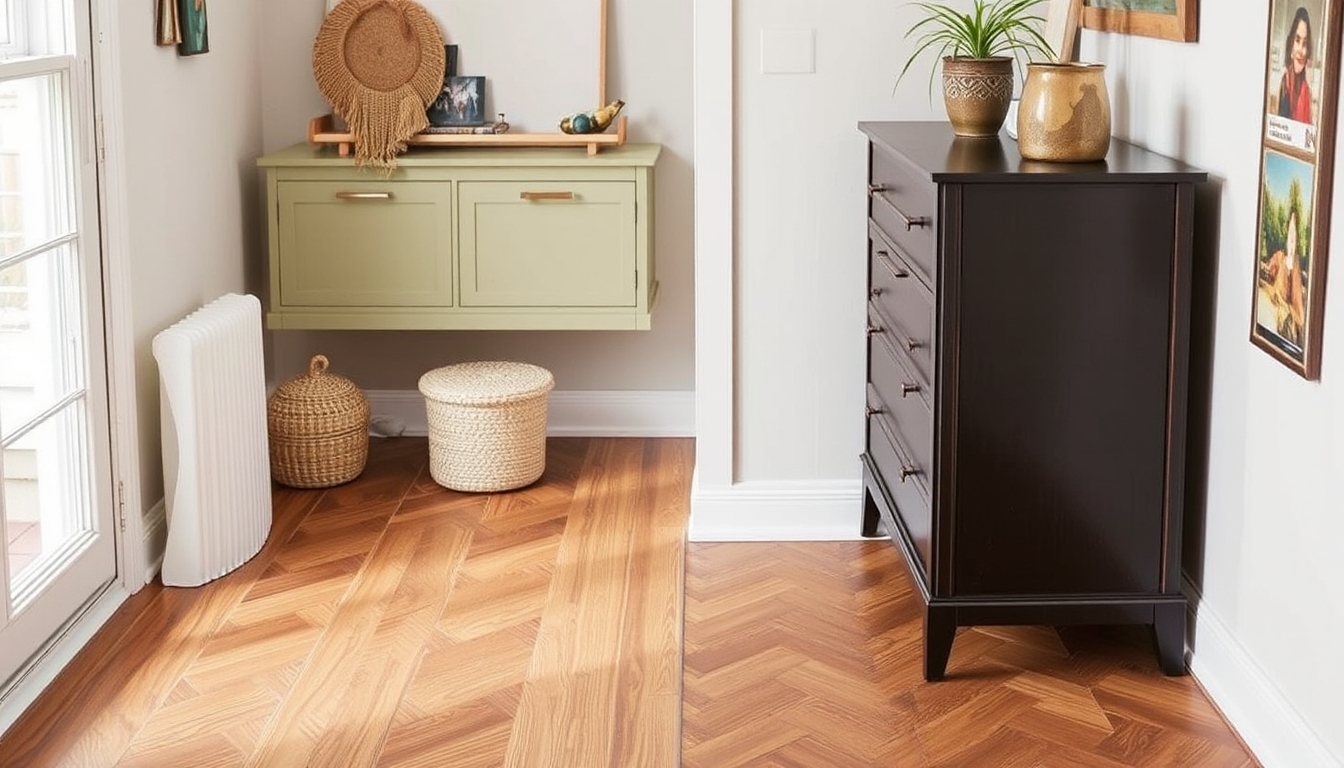
Are you tired of looking at your dull, old flooring? Want to give your space a fresh new look without breaking the bank? Well, look no further! In this article, we will explore a range of do-it-yourself flooring ideas that are not only budget-friendly but also easy to implement. Whether you’re a seasoned DIY enthusiast or a beginner, these innovative flooring solutions will help transform your space into a stylish haven. So, roll up your sleeves and get ready to revamp your floors with these inspiring ideas!
Painted Concrete Floors
Looking for a cost-effective way to spruce up your concrete floors? Consider painting them! This DIY flooring idea allows you to unleash your creativity and add a personal touch to your space. Before you begin, make sure your concrete surface is clean and free from any cracks or damages. Start by applying a coat of concrete primer to ensure proper adhesion of the paint.
Once the primer is dry, it’s time to get creative with colors! Opt for high-quality concrete floor paint that is specifically designed for durability and resistance to wear and tear. You can choose a single color for a minimalist look or experiment with patterns and designs using stencils or tape.
To achieve a professional finish, apply multiple thin coats of paint, allowing sufficient drying time between each coat. Seal the painted surface with a clear sealant to protect it from scratches and spills.
Benefits of Painted Concrete Floors:
- Cost-effective solution compared to other flooring options
- Endless color and design possibilities to match your style
- Durable and long-lasting when properly maintained
- Easy to clean and maintain
Painted concrete floors can instantly transform a dull space into a vibrant, eye-catching area. Whether you’re revamping your basement, garage, or even your living room, this DIY flooring idea offers a budget-friendly way to elevate your space’s aesthetic appeal.
Peel-and-Stick Vinyl Tiles
If you’re looking for a quick and hassle-free DIY flooring solution, peel-and-stick vinyl tiles are the way to go. These self-adhesive tiles are not only easy to install but also come in a wide variety of styles and designs to suit any aesthetic.
Start by preparing your floor surface – it should be clean, dry, and free from any debris. Measure the area to determine the number of tiles needed, and consider purchasing extra tiles for any future replacements.
Begin by laying the first tile in one corner of the room, ensuring it is aligned with the walls. Peel off the backing and press it firmly onto the floor, smoothing out any bubbles or wrinkles as you go. Continue this process, interlocking the tiles as you move along.
For a professional finish, use a roller or a flat object to firmly press down on the tiles, ensuring they adhere securely to the floor. Trim any excess tiles along the edges using a utility knife for a neat and polished look.
Benefits of Peel-and-Stick Vinyl Tiles:
- Easy and quick installation process
- Wide range of design options to suit any style
- Waterproof and resistant to stains
- Durable and low-maintenance
Peel-and-stick vinyl tiles offer an affordable and versatile flooring solution for various areas of your home. From kitchens and bathrooms to entryways and laundry rooms, these tiles provide a practical and stylish upgrade without the need for professional assistance.
Reclaimed Wood Planks
If you’re a fan of rustic and eco-friendly aesthetics, consider using reclaimed wood planks for your DIY flooring project. Reclaimed wood brings a unique charm and character to any space, and it’s a sustainable choice that repurposes materials.
Start by sourcing reclaimed wood planks from salvage yards, reclaimed wood suppliers, or even repurposing old pallets. Ensure that the wood is clean, free from any rot or pests, and has been properly treated to remove any potential hazards.
Before installing the planks, acclimate them to the room’s temperature and humidity for a few days. This will prevent the wood from warping or expanding after installation.
Next, prepare your subfloor by ensuring it is clean, level, and dry. Lay down a moisture barrier to protect the wood from any potential moisture damage. Then, begin laying the reclaimed wood planks, starting from one side of the room and working your way across.
Secure the planks to the subfloor using adhesive or nails, ensuring they are firmly in place. Leave a small gap between each plank to allow for natural expansion and contraction of the wood.
Benefits of Reclaimed Wood Planks:
- Unique and rustic aesthetic appeal
- Eco-friendly choice that promotes sustainability
- Durable and sturdy when properly installed
- Adds character and warmth to any space
Reclaimed wood planks offer a one-of-a-kind flooring option that brings nature indoors while reducing your environmental impact. With their timeless beauty and durability, they are sure to be a conversation starter in your home.
Stenciled Concrete Overlay
If you want to give your concrete floors a decorative touch without the cost and hassle of installing new flooring materials, consider a stenciled concrete overlay. This DIY flooring idea allows you to create intricate patterns and designs on your existing concrete surface.
Start by cleaning and preparing your concrete floor, ensuring it is free from any cracks, stains, or imperfections. Apply a concrete bonding agent to promote adhesion between the overlay and the existing surface.
Mix the concrete overlay material according to the manufacturer’s instructions. Pour the overlay mixture onto the floor and use a trowel or squeegee to spread it evenly over the entire area. Make sure the thickness of the overlay is consistent.
Once the overlay is applied, it’s time to get creative with stencils! Choose a stencil design that suits your style and place it on the still-wet overlay. Use a stencil brush or roller to apply concrete stain or paint within the stencil, creating your desired pattern or design.
After the stencil work is complete, allow the overlay to dry and cure as per the manufacturer’s instructions. Once fully cured, apply a concrete sealer to protect the surface from wear and tear.
Benefits of Stenciled Concrete Overlay:
- Transforms plain concrete floors into visually stunning surfaces
- Wide range of design options and customization possibilities
- Cost-effective compared to installing new flooring materials
- Durable and resistant to high traffic
A stenciled concrete overlay offers a creative and budget-friendly way to add character and elegance to your space. With an array of stencil designs to choose from, you can create a floor that reflects your personal style and enhances the overall ambiance of your home.
Cork Flooring
If you’re in search of an eco-friendly and comfortable flooring option, look no further than cork. Cork flooring is made from the bark of cork oak trees, making it a sustainable choice that doesn’t harm the environment.
Before installing cork flooring, ensure that your subfloor is clean, level, and dry. Cork can be installed over various types of subfloors, including concrete, plywood, or existing flooring, as long as they are in good condition.
Cork tiles or planks can be installed using either the glue-down or floating method. The glue-down method involves applying adhesive to the subfloor and pressing the cork tiles firmly into place. The floating method, on the other hand, involves interlocking the cork planks without the need for adhesive.
Once the cork flooring is installed, it’s important to seal it with a water-based polyurethane sealant to protect it from moisture and stains. This will help prolong the lifespan of your cork flooring and keep it looking its best.
Benefits of Cork Flooring:
- Renewable and sustainable flooring option
- Naturally resistant to mold, mildew, and pests
- Soft and comfortable underfoot
- Excellent thermal and acoustic insulation
Cork flooring offers a unique combination of beauty, sustainability, and comfort. Its natural properties make it an ideal choice for areas where comfort and noise reduction are important, such as bedrooms, living rooms, and home offices.
Luxury Vinyl Planks
If you desire the look of hardwood or stone flooring without the high cost and maintenance, luxury vinyl planks (LVP) are an excellent choice. LVP offers a realistic appearance while providing durability and easy installation.
Start by preparing your subfloor, ensuring it is clean, level, and dry. Luxury vinyl planks can be installed over various types of subfloors, including concrete, plywood, or existing flooring, as long as they are in good condition.
LVP comes in a variety of styles, colors, and finishes, allowing you to find the perfect match for your aesthetic preferences. The planks are designed to interlock, making installation a breeze. Simply start in one corner of the room, align the planks, and click them together.
As you lay the planks, be mindful of maintaining consistent spacing between them for a professional finish. Use a utility knife or a saw to cut the planks to fit around any corners or obstructions.
Benefits of Luxury Vinyl Planks:
- Realistic appearance of hardwood or stone flooring
- Waterproof and resistant to stains
- Durable and scratch-resistant
- Easy to clean and maintain
Luxury vinyl planks offer an affordable and versatile flooring solution for any room in your home. With their realistic appearance and low maintenance requirements, they provide the perfect balance between style and practicality.
Floating Laminate Flooring
If you’re looking for a budget-friendly and easy-to-install flooring option, floating laminate flooring is worth considering. Laminate flooring offers the look of hardwood or stone at a fraction of the cost, making it an attractive choice for many homeowners.
Before installation, ensure that your subfloor is clean, level, and dry. Floating laminate flooring can be installed over various types of subfloors, including concrete, plywood, or existing flooring, as long as they are in good condition.
Laminate planks come with a tongue-and-groove system, allowing them to fit together seamlessly. Begin by laying down an underlayment to provide cushioning, moisture resistance, and sound absorption. Then, start at one corner of the room and click the planks together, working your way across the floor.
As you lay the planks, be sure to leave a small expansion gap around the edges of the room to accommodate for natural expansion and contraction. Use spacers to maintain a consistent gap and remove them once the installation is complete.
Benefits of Floating Laminate Flooring:
- Affordable alternative to hardwood or stone flooring
- Durable and resistant to scratches and stains
- Easy to clean and maintain
- Wide range of styles and finishes available
Floating laminate flooring offers a cost-effective way to achieve the look of high-end flooring without the hefty price tag. With its ease of installation and durability, it’s no wonder why it’s a popular choice among DIY enthusiasts and homeowners alike.
Rubber Flooring
If you’re in search of a durable and resilient flooring option, rubber flooring is an excellent choice. Rubber floors are known for their versatility, comfort, and exceptional durability, making them ideal for high-traffic areas or spaces where shock absorption is important.
Before installing rubber flooring, ensure that your subfloor is clean, level, and dry. Rubber flooring can be installed over various types of subfloors, including concrete, plywood, or existing flooring, as long as they are in good condition.
Rubber flooring comes in tiles or rolls. Tiles are typically easier to install and replace, while rolls provide a seamless appearance. Begin by measuring the area and cutting the tiles or rolls to fit accordingly.
If using tiles, simply apply adhesive to the subfloor and press the tiles firmly into place, ensuring they are aligned properly. If using rolls, roll out the rubber flooring and trim any excess material along the edges.
Benefits of Rubber Flooring:
- Exceptional durability and longevity
- Shock-absorbent and comfortable underfoot
- Resistant to moisture, stains, and scratches
- Easy to clean and maintain
Rubber flooring is a practical and versatile choice for various areas, including gyms, playrooms, and commercial spaces. With its durability and comfort, it provides a reliable and long-lasting flooring solution that can withstand the demands of everyday life.
In conclusion, when it comes to transforming your space with DIY flooring ideas, the possibilities are endless. Whether you opt for painted concrete floors, peel-and-stick vinyl tiles, reclaimed wood planks, stenciled concrete overlays, cork flooring, luxury vinyl planks, floating laminate flooring, or rubber flooring, each option brings its own unique benefits and charm.
Consider your budget, style preferences, and the specific needs of your space before making a decision. Remember to properly prepare your subfloor, follow installation instructions, and take necessary precautions to ensure a successful and long-lasting result.
With these do-it-yourself flooring ideas, you can elevate the aesthetic appeal of your home without the need for professional assistance. So, roll up your sleeves, get creative, and embark on your flooring transformation journey today!


