DIY Headlamp Cleaner: Restore Your Car’s Visibility. Dim, cloudy headlamps not only affect your car’s aesthetics but also compromise your safety on the road. Over time, headlamps become dull due to exposure to the elements, leading to decreased visibility, especially at night. Thankfully, you don’t need to shell out a fortune for professional restoration. This guide equips you with the knowledge and techniques to restore your headlamps to their former glory using common household items.
The process of cleaning headlamps is relatively straightforward and involves removing dirt, grime, and oxidation that accumulates over time. With the right tools and techniques, you can achieve impressive results and enhance your car’s overall appearance. Let’s delve into the world of DIY headlamp cleaning and discover how you can breathe new life into your car’s lighting system.
Addressing Specific Headlamp Issues
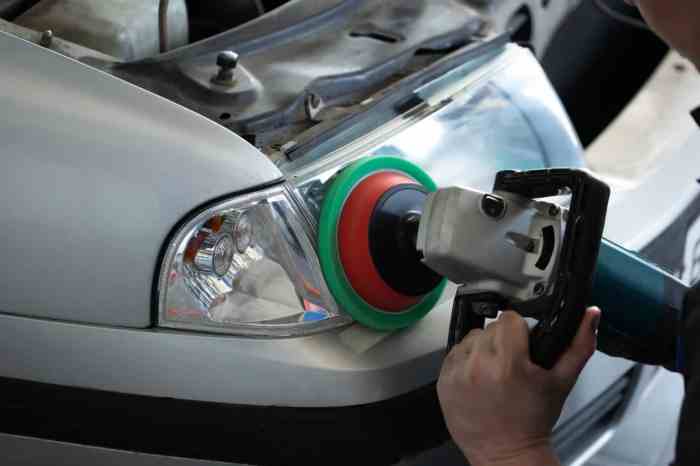
Headlamps are essential for nighttime visibility and safety. However, they can become clouded, scratched, or yellowed over time, diminishing their effectiveness. Fortunately, restoring your headlamps to their original clarity is achievable with a few simple steps and the right tools.
Cleaning Yellowed Headlamps
Yellowing is a common issue that can occur due to UV exposure, oxidation, and environmental contaminants. Cleaning yellowed headlamps can significantly improve their light output and enhance your vehicle’s aesthetics.
- Cleaning with a Toothpaste and Baking Soda Mixture: This DIY solution is cost-effective and readily available. Apply a mixture of toothpaste and baking soda to the affected areas, gently rub in circular motions, and rinse thoroughly with water. This abrasive action can help remove surface oxidation and contaminants.
- Using a Headlamp Restoration Kit: For more stubborn yellowing, a headlamp restoration kit provides a more professional approach. These kits typically include sanding pads of varying grits, a polishing compound, and a sealant. Start with coarser grits to remove deep oxidation, gradually progressing to finer grits for a smooth finish. Apply the polishing compound to remove scratches and restore shine. Finally, seal the headlamps with the provided sealant to protect them from future damage.
Professional Headlamp Restoration: Diy Headlamp Cleaner
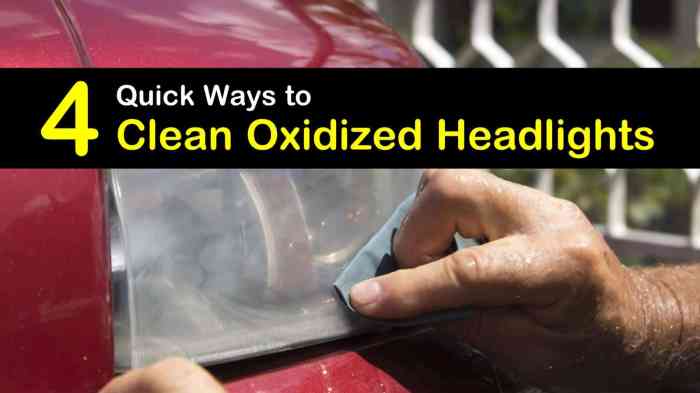
While DIY cleaning can address minor clouding, professional headlamp restoration offers a more comprehensive solution for severely damaged or heavily oxidized headlights.
Comparing DIY and Professional Restoration, Diy headlamp cleaner
The primary difference lies in the level of expertise and equipment used. DIY methods often rely on readily available materials like toothpaste or baking soda, while professional services employ specialized tools and techniques.
- DIY: Suitable for minor clouding and scratches. Uses readily available materials and basic tools. Offers a cost-effective solution, but may not achieve a perfect finish.
- Professional: Addresses severe oxidation, deep scratches, and yellowing. Utilizes specialized equipment like sanding tools, UV-resistant coatings, and professional-grade polishing compounds. Delivers a durable and long-lasting restoration.
Situations Where Professional Restoration is Recommended
Professional restoration is highly recommended when DIY methods prove ineffective or when the damage is extensive.
- Deep scratches: Scratches that are visible and affect the clarity of the headlight beam.
- Heavy oxidation: When the plastic has become significantly discolored or opaque, significantly reducing light output.
- Significant yellowing: Yellowed headlights indicate significant UV damage and may require specialized UV-resistant coatings.
- Cracked or chipped lenses: These situations require professional repair or replacement.
Cost and Process of Professional Headlamp Restoration
The cost of professional headlamp restoration varies depending on the extent of damage, the location, and the service provider. However, it typically ranges from $50 to $200 per headlight.
- Initial Assessment: The technician will assess the damage and determine the best course of action.
- Sanding and Polishing: The headlight lens is sanded and polished to remove scratches and oxidation.
- UV-Resistant Coating: A UV-resistant coating is applied to protect the headlight lens from future damage.
- Final Inspection: The restored headlights are inspected to ensure they meet quality standards.
Headlamp Cleaning Myths and Misconceptions
There are many misconceptions surrounding headlamp cleaning, leading to ineffective or even damaging cleaning methods. It’s important to separate fact from fiction to ensure proper cleaning and maintain the longevity of your headlights.
Toothpaste and Baking Soda
Many people believe that toothpaste or baking soda can effectively clean headlights. While these substances have abrasive properties, they are not designed for headlight cleaning.
- Toothpaste and baking soda can scratch the plastic lens, causing permanent damage and scattering light.
- These substances are not formulated to remove the oxidation and discoloration that causes cloudy headlights.
- Using toothpaste or baking soda can also create a residue that attracts dirt and grime, defeating the purpose of cleaning.
Sandpaper and Steel Wool
These abrasive materials are often used to remove scratches and oxidation from headlights. However, they are too harsh and can cause significant damage to the lens.
- Sandpaper and steel wool can create deep scratches, making the headlight more cloudy and reducing light output.
- These materials can also damage the protective coating on the lens, making it more susceptible to future damage.
- While they may initially appear to improve the appearance, they ultimately weaken the headlight lens, making it more prone to cracking or breaking.
Washing with Dish Soap
While dish soap is effective at cleaning dishes, it is not suitable for cleaning headlights.
- Dish soap can leave a residue on the lens that attracts dirt and grime, making the headlights appear cloudy.
- The harsh chemicals in dish soap can damage the protective coating on the lens, making it more susceptible to scratches and oxidation.
Using a Car Wash
While car washes can remove dirt and grime, they are not designed to restore cloudy headlights.
- Car washes often use harsh chemicals that can damage the lens, further contributing to clouding.
- The high-pressure water jets used in car washes can force water into the headlight assembly, potentially damaging the electrical components.
Cleaning your headlamps is a simple yet effective way to improve your car’s visibility and safety. By using readily available materials and following the steps Artikeld in this guide, you can restore your headlamps to their original brilliance. Remember, regular maintenance is key to preventing future clouding and ensuring optimal illumination. So, roll up your sleeves, gather your supplies, and get ready to give your headlamps a much-needed makeover.
Keeping your headlamp clean is essential for visibility, especially when you’re out on a nighttime adventure. Similar to the meticulous process of creating unique earrings with beads, diy earrings beads , you can also use a simple DIY solution to restore your headlamp’s brightness. A mixture of water and dish soap can effectively remove dirt and grime, leaving your headlamp shining bright again.

