Welcome to our informative blog post where we will guide you through the process of building your own flagpole with a do-it-yourself approach. Whether you want to proudly display your national flag, support a cause, or simply add a touch of elegance to your outdoor space, constructing your own flagpole can be a rewarding and cost-effective endeavor. In this article, we’ll provide you with step-by-step instructions and useful tips to ensure a successful DIY flagpole project. So, let’s dive in and get started!
Choosing the Right Location
Before you begin constructing your DIY flagpole, it’s crucial to select an appropriate location for its installation. Consider the following factors:
1.1 Sun Exposure
Ensure that the area you choose receives adequate sun exposure throughout the day. This is important to prevent the flag from being overshadowed, allowing it to flutter proudly in the wind.
1.2 Wind Conditions
Assess the wind patterns in your chosen location. It’s essential to place your flagpole in an area that is not obstructed by buildings or trees, as this can cause the flag to become tangled or damaged during windy weather.
1.3 Accessibility
Consider how easily accessible the flagpole will be for maintenance and flag changes. It’s important to have enough space around the flagpole to comfortably lower and hoist the flag without any obstructions.
1.4 Local Regulations
Check with your local municipality or homeowner’s association to ensure that there are no specific regulations or permits required for installing a flagpole in your chosen location. Compliance with any rules or restrictions will help you avoid any potential issues in the future.
Once you have carefully evaluated these factors, you’ll be ready to move on to the next step in your DIY flagpole project: gathering the necessary materials.
Gathering the Necessary Materials
Before you start constructing your DIY flagpole, it’s important to gather all the required materials. Here’s a list of what you’ll need:
2.1 Flagpole Material
Choose a suitable material for your flagpole, such as aluminum, fiberglass, or PVC. Consider factors like durability, weight, and maintenance requirements when making your selection.
2.2 Flagpole Hardware
Acquire the necessary hardware to assemble your flagpole, including a top pulley, halyard (rope), cleat, and snap hooks. Ensure that the hardware is compatible with the chosen flagpole material.
2.3 Concrete and Digging Tools
Depending on the type of flagpole you’re constructing, you may need concrete to secure it in the ground. Gather the required amount of concrete mix and digging tools, such as a shovel and post hole digger.
2.4 Flag
Purchase a flag of your choice, whether it represents your country, a specific cause, or simply adds aesthetic appeal to your outdoor space. Ensure that the flag size is appropriate for the height of your flagpole.
2.5 Additional Tools
Collect other tools and equipment you’ll need for the construction process, including a tape measure, level, drill, screws, wrenches, and safety gear like gloves and goggles.
Once you have gathered all the necessary materials, you’ll be well-prepared to move on to the next step: constructing your DIY flagpole.
Constructing Your DIY Flagpole
Now that you have all the materials ready, it’s time to start constructing your DIY flagpole. Follow these steps to ensure a successful installation:
3.1 Prepare the Foundation
Begin by digging a hole in the ground that is deep enough to securely hold the flagpole. The depth will depend on the height and size of your flagpole, so refer to the manufacturer’s instructions for guidance. Once the hole is dug, pour the concrete mix into the hole and position a pole sleeve or pipe in the center of the hole. Ensure that the sleeve is level and allow the concrete to cure according to the instructions.
3.2 Assemble the Flagpole
While the concrete is curing, assemble the flagpole using the provided hardware. Follow the manufacturer’s instructions carefully to ensure proper assembly. Attach the top pulley, halyard, and other necessary components according to the design of your flagpole.
3.3 Install the Flagpole
Once the concrete has cured, carefully lower the assembled flagpole into the pole sleeve or pipe. Ensure that the flagpole is straight and level. Use a level to double-check its alignment. Fill the remaining space around the pole sleeve or pipe with soil or additional concrete to secure the flagpole in place.
3.4 Attach the Flag
Finally, attach your chosen flag to the halyard using the snap hooks. Raise the flag up the pole and secure the halyard with the cleat. Adjust the flag’s position to ensure it is displayed prominently and straight.
With these steps completed, your DIY flagpole is now ready to proudly display your flag for all to see. Take a step back, admire your work, and enjoy the sense of accomplishment that comes with completing a do-it-yourself project.
Maintaining Your DIY Flagpole
Now that your DIY flagpole is proudly displaying your flag, it’s important to maintain it properly to ensure its longevity and optimal performance. Here are some maintenance tips to keep in mind:
4.1 Regular Inspections
Periodically inspect your flagpole for any signs of damage, such as cracks, rust, or loose hardware. Regular inspections will allow you to address any issues promptly before they worsen.
4.2 Cleaning
Keep your flagpole clean by wiping it down with a mild soap and water solution. Avoid using harsh chemicals or abrasive materials that could damage the surface or finish of the flagpole.
4.3 Flag Care
Take care of your flag by regularly washing it according to the manufacturer’s instructions. Replace the flag if it becomes faded, torn, or tattered. Additionally, lower the flag during inclement weather to prevent unnecessary wear and tear.
4.4 Lubrication
Apply lubrication to any moving parts, such as the pulley system, to ensure smooth operation. Use a lubricant recommended by the manufacturer to prevent rust and corrosion.
4.5 Winter Precautions
If you live in an area with harsh winters, consider removing the flagpole during the winter months to protect it from ice, snow, and strong winds. Store it in a safe and dry location until the weather improves.
By following these maintenance tips, you can ensure that your DIY flagpole remains in excellent condition, allowing you to proudly display your flag for years to come.
Add a Personal Touch to Your DIY Flagpole
Now that you have successfully constructed and installed your DIY flagpole, why not add a personal touch to make it even more unique? Here are some ideas to consider:
5.1 Landscaping
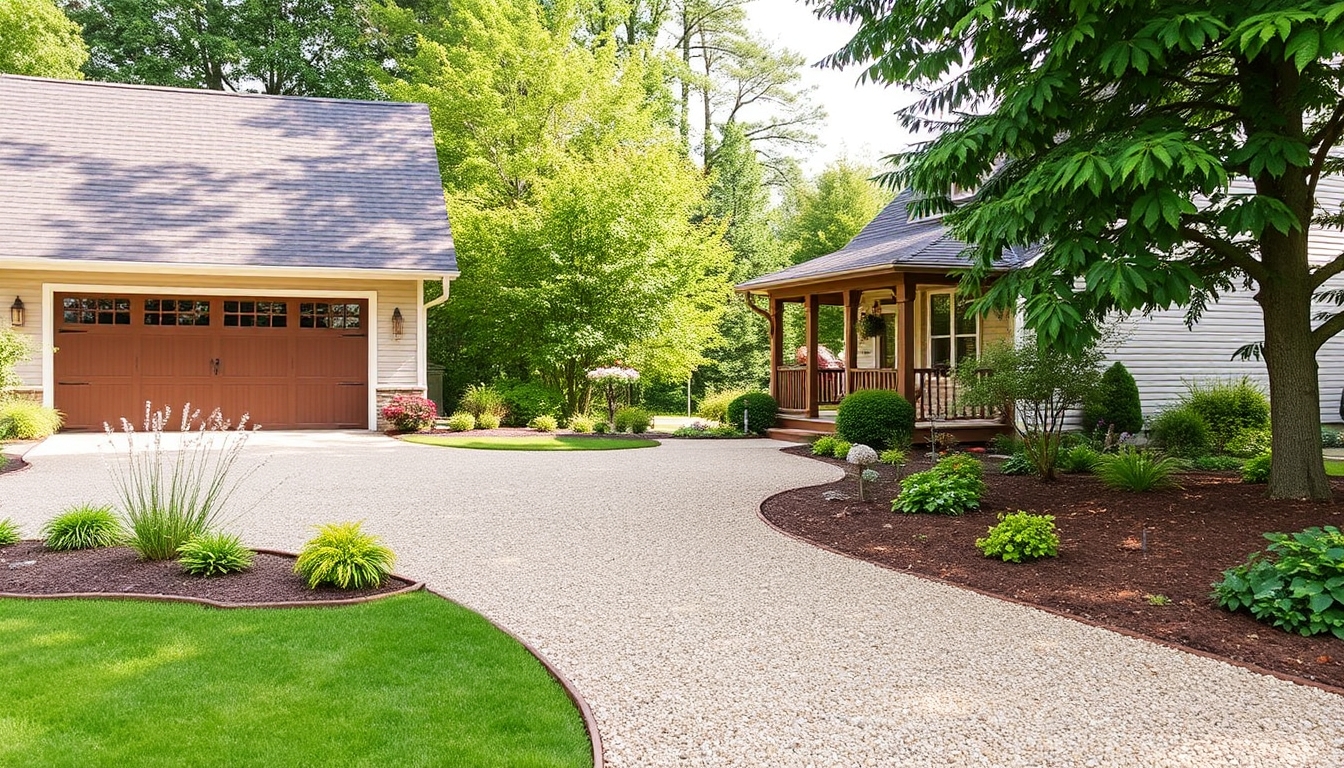
Enhance the area around your flagpole by adding landscaping elements such as flower beds, shrubs, or decorative rocks. This will create an inviting and aesthetically pleasing environment.
5.2 Solar Lighting
Illuminate your flagpole at night by installing solar-powered lights around its base. This will not only showcase your flag even in the dark but also add a touch of elegance to your outdoor space.
5.3 Flagpole Accessories
Consider adding accessories to your flagpole, such as decorative finials or flagpole ornaments. These accessories can reflect your personal style or interests, further enhancing the visual appeal of your flagpole.
5.4 Educational Signage
If your flagpole represents a cause or organization, consider adding educational signage nearby to raise awareness and provide information about the significance of the flag or cause.
5.5 Flag Etiquette Reminder
Place a small sign near your flagpole reminding others about proper flag etiquette. This can help educate visitors and passersby on how to show respect for the flag and its symbolism.
By implementing these personal touches, you can make your DIY flagpole not only a functional and patriotic feature but also a reflection of your own style and values.
Conclusion
Congratulations on completing your DIY flagpole project! By following the steps outlined in this article, you have successfully built and installed a flagpole that allows you to proudly display your flag. Remember to choose the right location, gather the necessary materials, and follow proper construction techniques for a sturdy and durable flagpole.
Additionally, maintaining your flagpole through regular inspections, cleaning, and flag care will ensure its longevity and optimal performance. Don’t forget to add a personal touch to make your flagpole unique and reflective of your style and values.
Now, step back and admire your handiwork. Your DIY flagpole stands tall, symbolizing your patriotism, support for a cause, or simply adding a touch of elegance to your outdoor space.
We hope this guide has been helpful in your DIY flagpole journey. Enjoy the pride and satisfaction that comes with completing a do-it-yourself project, and may your flag always wave proudly in the wind!
Share Your DIY Flagpole Experience
Now that you have successfully built and installed your DIY flagpole, why not share your experience with others? Here are a few ways to do so:
7.1 Social Media
Take some pictures of your flagpole and share them on your favorite social media platforms. Write a caption describing your DIY journey, any challenges you faced, and the rewarding feeling of seeing your flag flying high.
7.2 Online Forums and Communities
Join online forums or communities dedicated to DIY projects, home improvement, or patriotism. Share your story, provide tips and advice, and inspire others who might be considering building their own flagpole.
7.3 Blogging or Vlogging
If you enjoy writing or creating videos, consider starting a blog or vlog to document your DIY flagpole project from start to finish. Share your thoughts, experiences, and lessons learned along the way. This can be a great resource for others interested in undertaking a similar project.
7.4 Local Publications or Newsletters
Contact local publications or newsletters in your community and offer to write an article or share your DIY flagpole project. This can help inspire and educate others in your area who might be interested in building their own flagpole.
By sharing your DIY flagpole experience, you can inspire and guide others who are interested in embarking on a similar project. Your knowledge and insights can make a positive impact and encourage others to take on their own DIY endeavors.
Final Thoughts
Building your own flagpole through a do-it-yourself approach is a fulfilling and rewarding project. Not only does it allow you to proudly display your flag, but it also adds a personal touch to your outdoor space. Throughout this article, we have provided you with a comprehensive guide on constructing a DIY flagpole, from choosing the right location to adding a personal touch.
Remember to consider factors such as sun exposure, wind conditions, and local regulations when selecting the perfect location for your flagpole. Gather all the necessary materials, including the flagpole itself, hardware, concrete, and a flag that reflects your values or interests.
With careful construction and proper installation, your DIY flagpole will stand tall and proudly display your flag for years to come. Don’t forget to regularly inspect and maintain your flagpole to ensure its longevity and optimal performance. Consider adding landscaping, solar lighting, or flagpole accessories to make it truly unique.
By sharing your DIY flagpole experience with others through social media, online communities, blogging, or local publications, you can inspire and guide fellow DIY enthusiasts. Your journey can serve as a source of motivation and knowledge for those looking to embark on their own flagpole project.
We hope this article has provided you with valuable insights and guidance to successfully construct and maintain your DIY flagpole. Enjoy the sense of accomplishment and pride that comes with completing a project that symbolizes your patriotism or personal values.
Remember, when you raise your flag on your DIY flagpole, it represents much more than just a piece of fabric. It represents your love for your country, your support for a cause, or simply your desire to add beauty and meaning to your outdoor space.
So go ahead, embark on your DIY flagpole journey, and let your flag fly high!
In conclusion, building a DIY flagpole can be a fulfilling and rewarding project that allows you to proudly display your flag and add a personal touch to your outdoor space. By following the steps outlined in this article, from choosing the right location and gathering the necessary materials to constructing and maintaining your flagpole, you can create a sturdy and durable structure that will stand tall for years to come.
Remember to consider factors such as sun exposure, wind conditions, and local regulations when selecting the location for your flagpole. Take the time to gather all the required materials, ensuring compatibility and quality. Proper construction techniques and regular maintenance will ensure that your flagpole remains in excellent condition, allowing your flag to wave proudly in the wind.
Additionally, consider adding landscaping, solar lighting, or accessories to personalize your flagpole and make it truly unique. By sharing your DIY flagpole experience with others, you can inspire and guide fellow DIY enthusiasts, fostering a sense of community and knowledge sharing.
Embark on your DIY flagpole journey with confidence and enjoy the sense of accomplishment that comes with completing a project that symbolizes your patriotism, support for a cause, or desire for personal expression. Let your flag fly high, and may it serve as a symbol of unity, pride, and beauty in your outdoor space.
Thank you for joining us on this informative blog post, and we hope it has provided you with the guidance and inspiration to create your own DIY flagpole. Happy flag flying!


