Tips Backup Data di Dropbox Secara Otomatis dan Efisien di Tahun Ini
Di tengah pesatnya perkembangan digital, kebutuhan untuk menjaga data agar tetap aman menjadi semakin penting. Salah satu solusi praktis yang banyak digunakan adalah layanan cloud seperti Dropbox yang memungkinkan pengguna melakukan backup data secara otomatis.
Mengapa Backup Data Menjadi Kebutuhan Utama
Pada masa teknologi yang semakin canggih, data menjadi aset penting. Tidak sedikit orang sering menghadapi kerusakan informasi akibat kesalahan sistem.
Dengan penyimpanan cadangan, pemilik data dapat meminimalkan kerugian data. layanan cloud ini hadir dengan memanfaatkan TEKNOLOGI cloud untuk melindungi data secara otomatis.
Cara Mengaktifkan Backup Otomatis di Dropbox
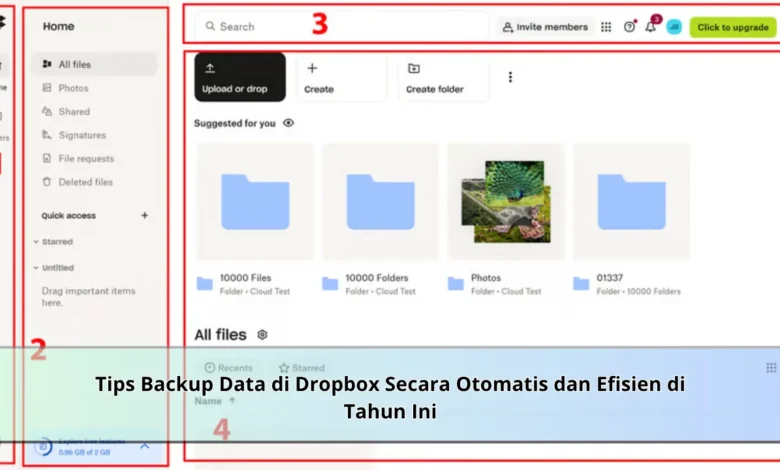
Untuk memulai, pengguna harus memasang software di komputer atau smartphone. Selanjutnya, pengguna dapat mengaktifkan fitur auto backup melalui menu setting.


Berkat teknologi ini, data akan secara otomatis tersimpan ke penyimpanan online. Kondisi ini membuat pencadangan data lebih praktis tanpa perlu intervensi manual.
Strategi Backup Data Cepat dan Praktis
Agar memperoleh kinerja optimal, pengguna disarankan menggunakan scheduled backup. Dengan langkah ini, penyimpanan file dapat dilakukan secara berkala tanpa mengganggu aktivitas.
Tidak hanya itu, user juga disarankan untuk mengecek koneksi cepat agar proses backup berjalan lebih cepat. Hal ini menjadikan backup data lebih maksimal.
Tips Keamanan Backup Data di Dropbox
Perlindungan menjadi aspek utama dalam penggunaan cloud. Pengguna disarankan memakai kata sandi yang aman untuk menjaga akses.
Selain itu, fitur autentikasi dua faktor pun perlu digunakan. Dengan sistem proteksi, akses ilegal dapat dikurangi.
Hal yang Harus Dihindari Saat Backup Data
Sebagian orang sering melakukan error saat sinkronisasi file. Di antaranya adalah mengabaikan ruang penyimpanan.
Di sisi lain, user juga tidak memperhatikan proses backup. Hal ini bisa mengakibatkan file hilang secara tidak disadari.
Mengapa Dropbox Cocok untuk Backup Data
Dropbox menawarkan fitur unggulan dibanding cloud storage lainnya. Nilai lebih adalah user friendly yang ramah untuk pengguna baru.
Tidak hanya itu, fitur sinkronisasi otomatis menjadikan user experience yang lebih optimal. Melalui sistem terbaru, layanan ini menjadi sebagai solusi backup.
Penutup Cara Backup Data Efisien
Pada akhirnya, backup data otomatis di Dropbox merupakan cara efektif untuk melindungi data penting. Berkat sistem digital, proses backup dapat lebih cepat.
Bagi masyarakat digital, mempelajari proses pencadangan merupakan hal krusial agar data tetap aman. Mulailah menggunakan Dropbox untuk melindungi dokumen Anda.