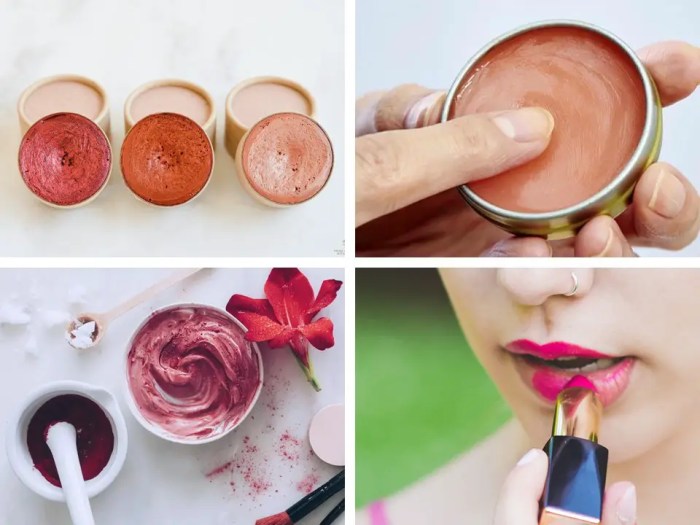
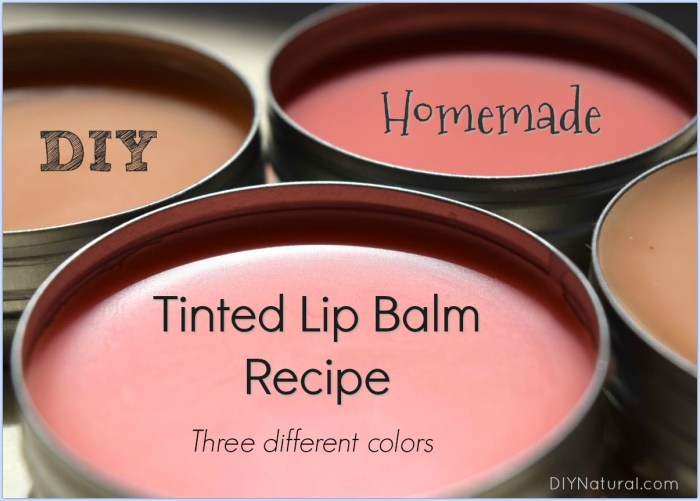
DIY for makeup is gaining popularity as people seek natural, affordable, and personalized beauty solutions. From creating vibrant eyeshadows with turmeric to whipping up a nourishing lip balm with beeswax, the possibilities are endless. This guide will equip you with the knowledge and recipes to embark on your DIY makeup journey, allowing you to express your unique style while caring for your skin.
Crafting your own makeup offers a sense of empowerment and allows you to tailor products to your specific needs and preferences. You can experiment with natural ingredients, customize colors, and even create a signature scent. Furthermore, DIY makeup can be a cost-effective alternative to commercially available products, without compromising quality or efficacy.
DIY Makeup Remover

Tired of harsh chemical-laden makeup removers? Want a gentle and effective alternative that’s easy on your wallet and your skin? Look no further than DIY makeup removers! These simple recipes utilize natural ingredients found in your kitchen, offering a refreshing and budget-friendly approach to removing makeup without compromising your skin’s health.
Comparing DIY Makeup Remover Recipes
Choosing the right DIY makeup remover depends on your skin type and preferences. Here’s a table comparing popular recipes:
| Recipe | Ingredients | Effectiveness | Skin Sensitivities |
|—|—|—|—|
| Coconut Oil | Coconut oil | Excellent for removing heavy makeup, waterproof mascara, and long-lasting lipstick | May clog pores for those with oily skin |
| Olive Oil | Olive oil | Effective for removing light to medium makeup | May clog pores for those with oily skin |
| Castor Oil | Castor Oil | Effective for removing eye makeup, including waterproof mascara | Can be drying for some skin types |
| Almond Oil | Almond oil | Gentle and effective for all skin types | Safe for sensitive skin |
| Baby Oil | Mineral oil | Effective for removing heavy makeup, waterproof mascara, and long-lasting lipstick | May clog pores for those with oily skin |
| Micellar Water | Water, mild surfactant, and a humectant | Gentle and effective for removing light to medium makeup | Suitable for sensitive skin |
Creating a Gentle and Effective DIY Makeup Remover, Diy for makeup
Creating a gentle and effective DIY makeup remover is as simple as combining readily available ingredients.
Here are a few simple recipes:
* Coconut Oil: Simply apply a small amount of coconut oil to a cotton pad and gently wipe away makeup. Coconut oil’s moisturizing properties leave your skin feeling soft and supple.
* Olive Oil: Similar to coconut oil, olive oil effectively removes makeup and nourishes the skin. Use a cotton pad to apply and gently remove makeup.
* Almond Oil: Almond oil is known for its gentle nature and is suitable for even the most sensitive skin. Apply a few drops to a cotton pad and gently remove makeup.
Importance of Removing Makeup Properly
Proper makeup removal is essential for maintaining healthy skin. Leaving makeup on overnight can clog pores, lead to breakouts, and contribute to premature aging.
DIY makeup removers offer a gentle and effective alternative to harsh chemical-laden products.
Using natural ingredients allows you to customize your remover to suit your specific skin needs. By following these simple tips, you can enjoy a clean and refreshed complexion every day.
DIY Blush and Bronzer: Diy For Makeup
Creating your own blush and bronzer can be a fun and cost-effective way to personalize your makeup routine. You can use natural ingredients to achieve a beautiful, healthy glow.
DIY Blush with Beetroot Powder
Beetroot powder is a natural source of color that can be used to create a vibrant blush. It’s also rich in antioxidants, which can help protect your skin from damage.
To create a DIY blush, you’ll need:
- 1 tablespoon beetroot powder
- 1 tablespoon shea butter
- Optional: a few drops of essential oil, such as rose or lavender
Instructions:
- Combine the beetroot powder and shea butter in a small bowl.
- Mix well until the ingredients are evenly combined.
- Add a few drops of essential oil, if desired.
- Store the blush in an airtight container.
DIY Bronzer with Cocoa Powder
Cocoa powder is a natural source of pigment that can be used to create a warm, sun-kissed bronzer. It’s also rich in antioxidants, which can help protect your skin from damage.
To create a DIY bronzer, you’ll need:
- 1 tablespoon cocoa powder
- 1 tablespoon cornstarch
- Optional: a few drops of essential oil, such as vanilla or sandalwood
Instructions:
- Combine the cocoa powder and cornstarch in a small bowl.
- Mix well until the ingredients are evenly combined.
- Add a few drops of essential oil, if desired.
- Store the bronzer in an airtight container.
Applying DIY Blush and Bronzer
When applying DIY blush and bronzer, it’s important to use a light hand. Start with a small amount of product and build up the color gradually.
Here are some tips for applying DIY blush and bronzer:
- Use a soft brush to apply the blush to the apples of your cheeks. Blend the color upwards towards your temples.
- Use a larger brush to apply the bronzer to your cheekbones, forehead, and jawline. Blend the color seamlessly into your skin.
- For a more natural look, apply the blush and bronzer in a circular motion.
Remember to test a small amount of DIY blush and bronzer on your skin before applying it to your entire face. This will help you avoid any allergic reactions.
DIY Makeup Storage and Organization

Storing and organizing your DIY makeup products can be just as rewarding as creating them. A well-organized system not only helps you find what you need quickly but also ensures the longevity of your homemade cosmetics.
Creative and Cost-Effective Storage Solutions
Here are some creative and budget-friendly ways to store and organize your DIY makeup products:
- Repurposed Jars and Containers: Glass jars from food items, like jam or pickles, make excellent containers for powders, creams, and liquids. They are airtight, durable, and can be easily cleaned and reused.
- Upcycled Boxes and Trays: Old shoeboxes, jewelry boxes, or even cardboard boxes from online deliveries can be transformed into stylish storage solutions. You can decorate them with paint, fabric, or decoupage techniques to personalize them.
- Magnetic Strips: Magnetic strips, often used for organizing tools in workshops, can be a fun and practical way to store small metal containers, like those used for eyeshadows or pigments.
- Acrylic Storage Boxes: Clear acrylic boxes are ideal for displaying and storing your DIY makeup products. They allow you to see everything at a glance and come in various sizes to fit your needs.
Benefits of Reusable Containers and Upcycled Materials
Using reusable containers and upcycled materials for DIY makeup storage offers several advantages:
- Environmental Friendliness: By repurposing existing containers and materials, you reduce waste and minimize your environmental footprint.
- Cost-Effectiveness: Using items you already have or finding inexpensive alternatives saves you money compared to buying new storage solutions.
- Customization and Personalization: Upcycled materials allow you to create unique and personalized storage solutions that reflect your style and preferences.
Labeling and Categorizing for Easy Access
Labeling and categorizing your DIY makeup products is crucial for easy access and identification.
- Clear and Concise Labels: Use permanent markers or adhesive labels to clearly identify the contents of each container. Keep the labels concise and easy to read.
- Categorical Storage: Organize your DIY makeup products based on their type (e.g., face, eyes, lips) or function (e.g., blush, eyeshadow, lipstick). This helps you find what you need quickly.
- Color-Coding: Assign colors to different categories or product types. This visual cue can make it easier to identify and locate specific items.
Embracing DIY makeup opens a world of creative possibilities, allowing you to explore natural beauty solutions while expressing your individuality. From crafting vibrant eyeshadows to creating nourishing lip balms, this journey empowers you to take control of your beauty routine and create products that truly reflect your unique style. With a little creativity and the right ingredients, you can achieve a stunning look that’s both natural and beautiful.
DIY makeup can be a fun and creative way to express yourself, and it can be especially rewarding during the holiday season. If you’re looking for a festive touch, why not try some DIY Christmas nails? You can find inspiration and tutorials for DIY Christmas nails online, and with a little practice, you can create stunning designs that complement your holiday makeup looks.


